
 It's that time again where we bring you new product announcements for Oak Development Technologies! We have a couple new products coming to the store by the end of the year!
1 Comment
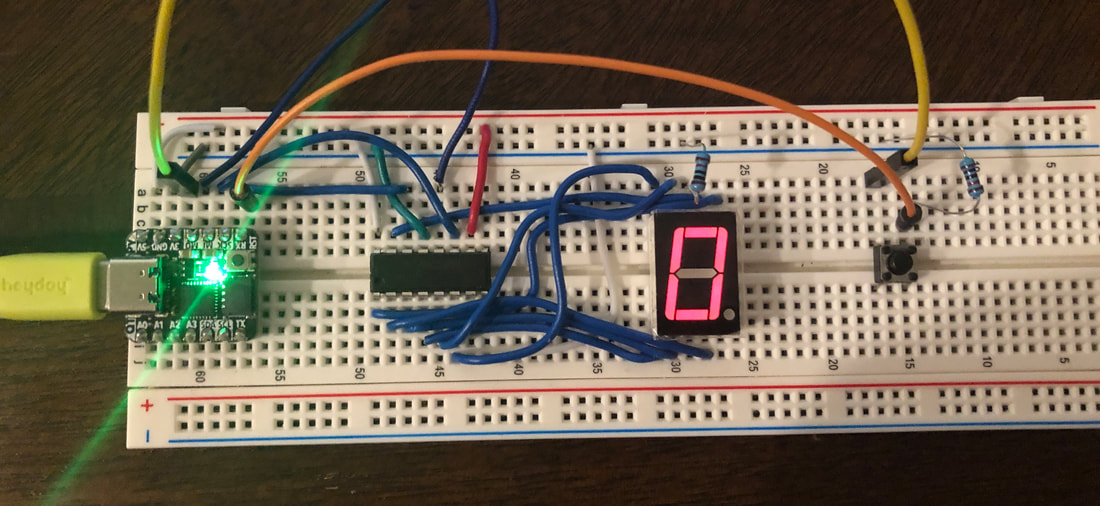
In our last tutorial, we walked you through how to expand the output pins of the Adafruit Qt Py by using a 74HC595 Shift Register. In this tutorial, we'll help you take it a step further by adding a momentary button and a few extra lines of code to implemented a push button counter.
If you haven't seen the first tutorial, you can find it here: https://www.oakdev.tech/tutorials-new-products/tutorial-expanding-qt-py-outputs-with-74hc595 
The Adafruit Qt Py is an adorable development board with a lot of potential given the current price ($6 as of writing this). You might wonder with the small size, what if I need more outputs? In this tutorial we'll show you how you can expand the Qt Py's outputs using the 74HC595 serial shift register to drive a 7 segment display including the CircuitPython code to make it all work.
As always before we get started, if you have never used a CircuitPython board like the QT PY, be sure to check out Adafruit's learning site to quickly get started with your new board. --> Adafruit Learning Site: Getting Started With CircuitPython 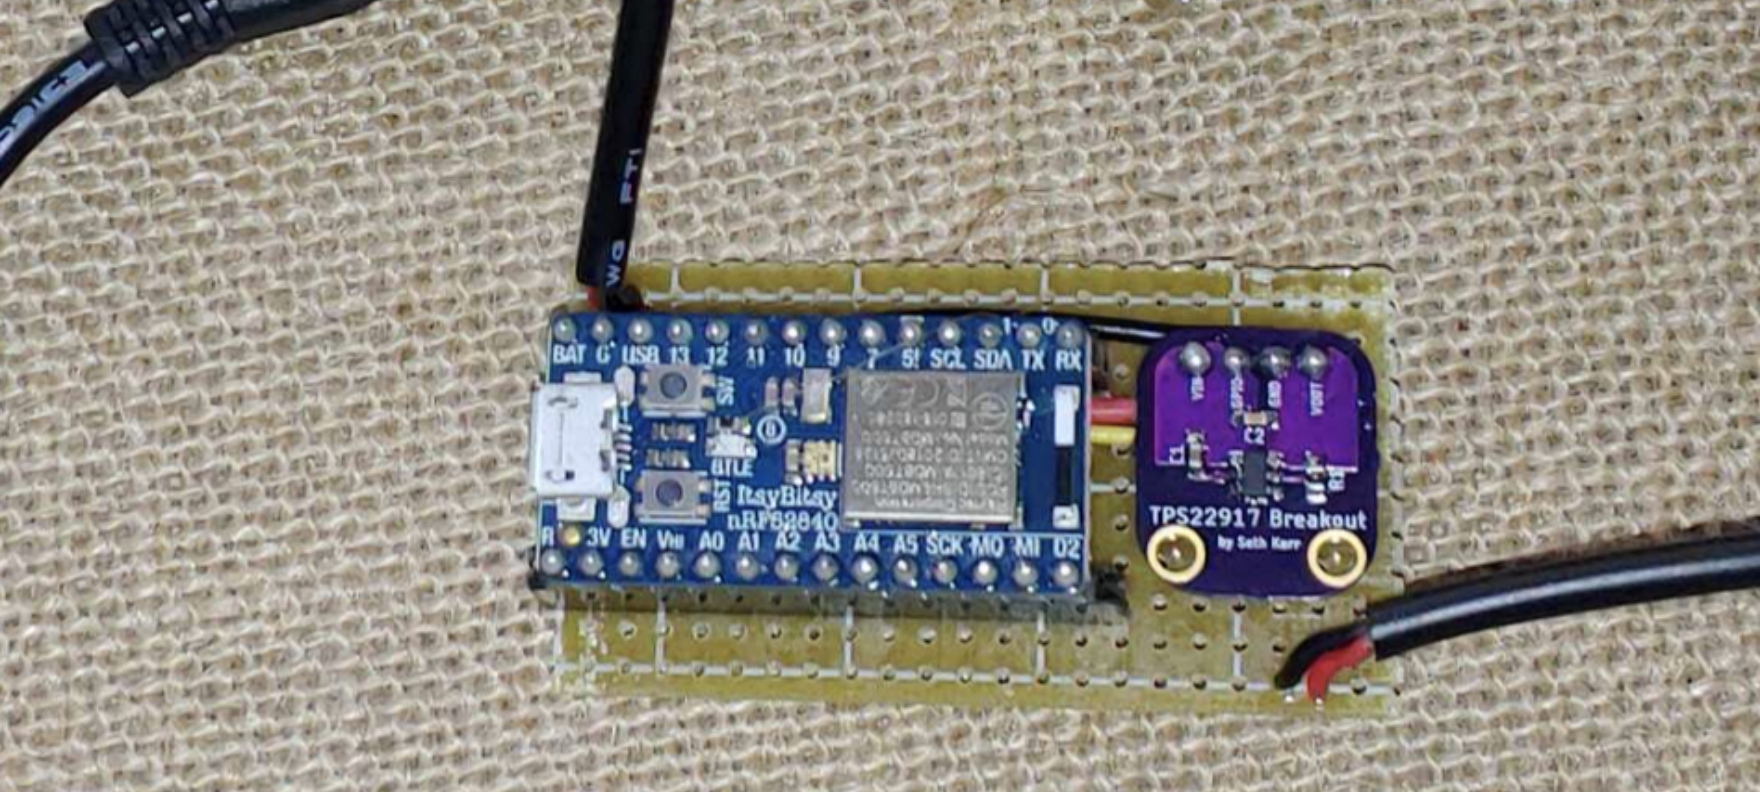 We want to make a point of highlighting the makers developing projects with ODT products, so we're starting these little posts called Project Spotlights. This week we are looking at the BLU Auto Shutoff USB Charger by foamyguy on Hackaday.io!
|
AuthorsSeth is embedded software engineer and open source hardware developer. Archives
March 2024
Categories |
 RSS Feed

|
|
Oak Development Technologies (ODT) believes that small teams can make a big difference, like providing you with easy to use designs for your electronics projects. ODT can also support your business with its line of products and kits. We have the right people and tools to bring your idea to life..
Oak tree seeds start small, and so does Oak Development Technologies. Copyright 2018-2023 Oak Development Technologies, An Oak Technology Holdings LLC Company. hello@oakdev.tech | Saratoga Springs, UT 84045 |