
In our previous tutorial with the TPS22917 Acorn, we showed you how to get started with the module using Arduino and the Arduino Nano. In this tutorial, we'll show you how easy it is to get the TPS22917 integrated into your project, all while showing off the new SAMD21 development board the QT PY by Adafruit.
Before we get started, if you have never used a CircuitPython board like the QT PY, be sure to check out Adafruit's learning site to quickly get started with your new board. --> Adafruit Learning Site: Getting Started With CircuitPython
What You'll Need:
To get started, you'll need the following parts:
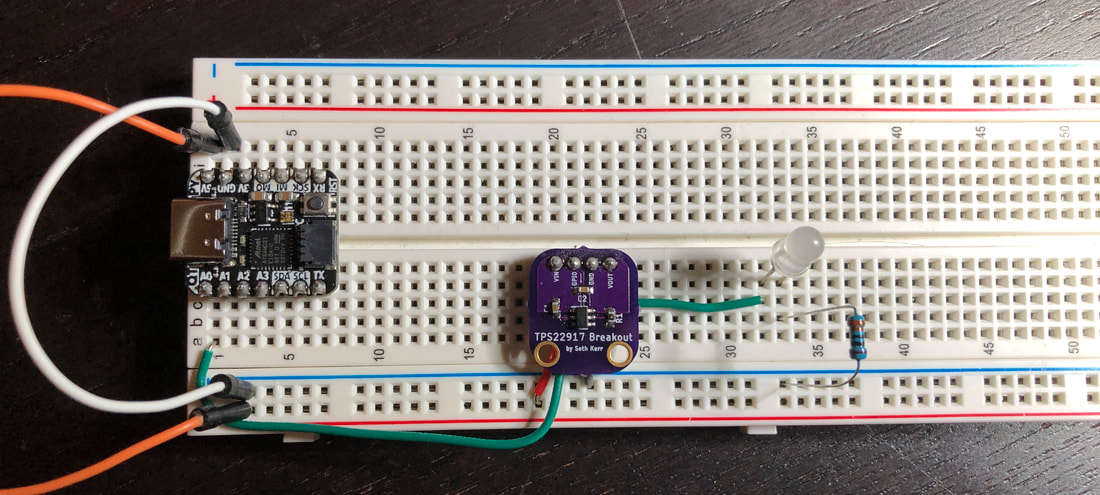
Getting Everything Wired Up:
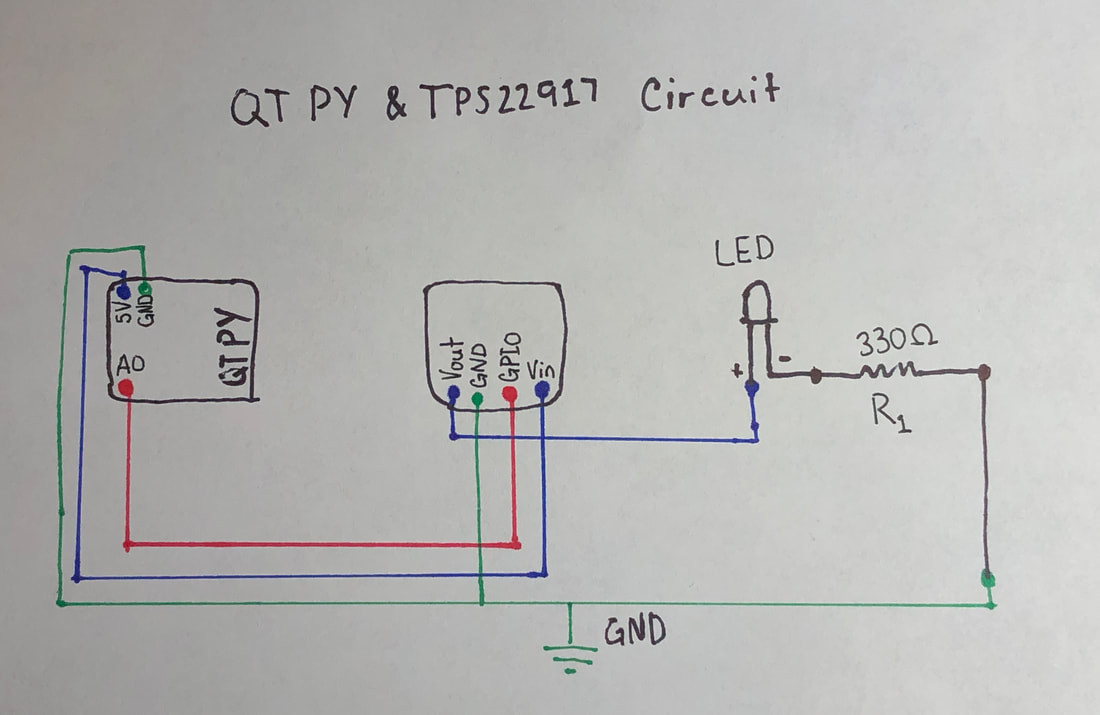
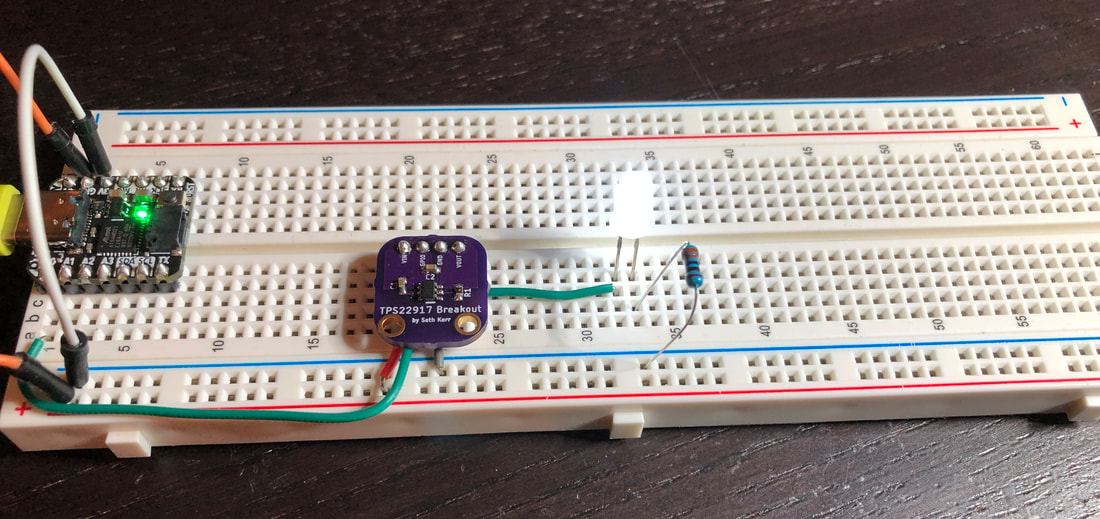
The wiring on this project is the same as our Adruino tutorial, but instead of connecting the GPIO pin to D12, we will connect it to A0 on the QT PY Board. If you're using any other kind of CircuitPython board, just pick any digital pin on your board as it will work with any digital pin. Be sure to wire up your circuit like the diagram below:
The Code:
You'll want to make sure your CircuitPython board is ready to use with the CircuitPython .uf2 installed. If you need to, reference the Getting Started With Circuit Python link at the top of the article.
First we are going to open the MU Editor. If your board is ready to use with Circuit Python, you should get no popups warning you about your board not being connected. In the editor window, we are going to paste the following code:
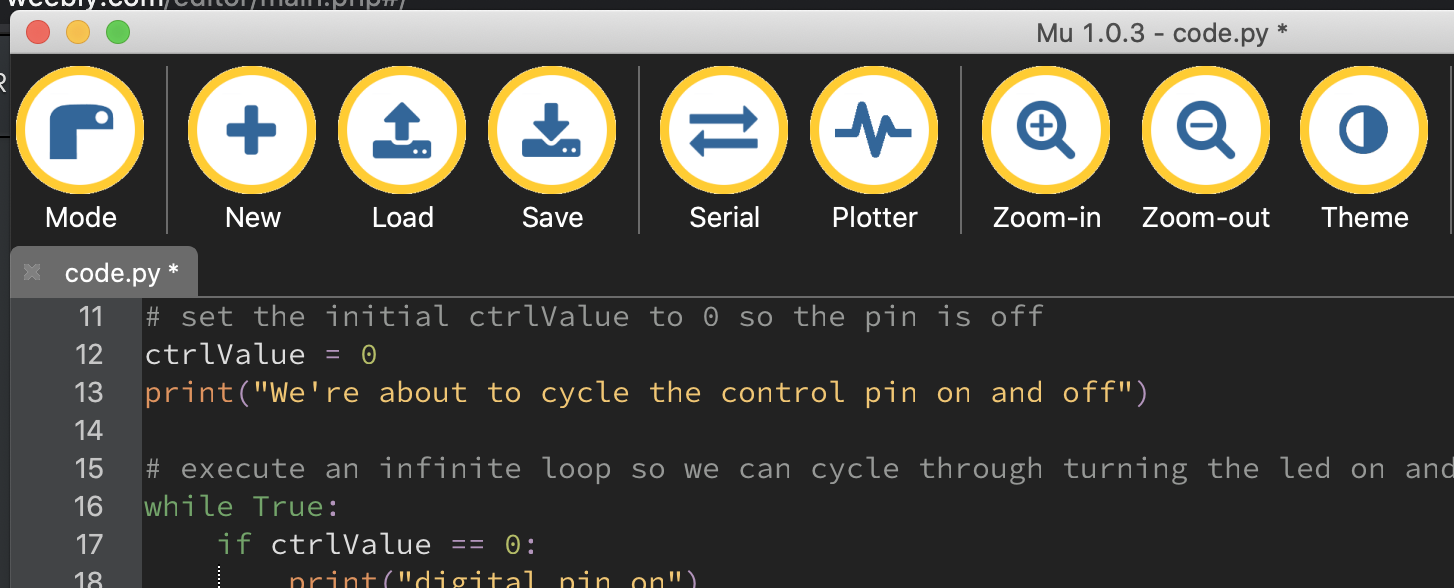
After this, we will press the "Save" button and save our file as "code.py" so the board can execute the file.
Once the code starts running we can press the "Serial" button to see the print statements we added to the code to make sure we know what is happening in real time. 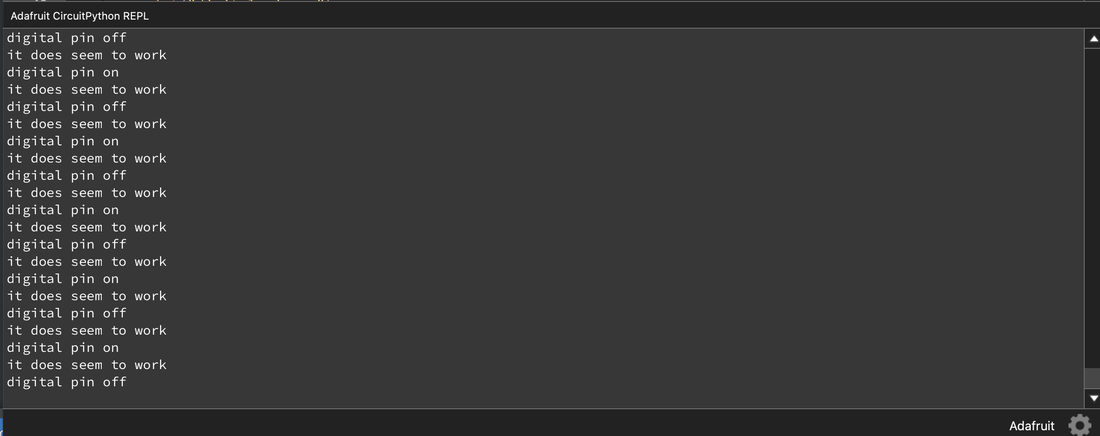
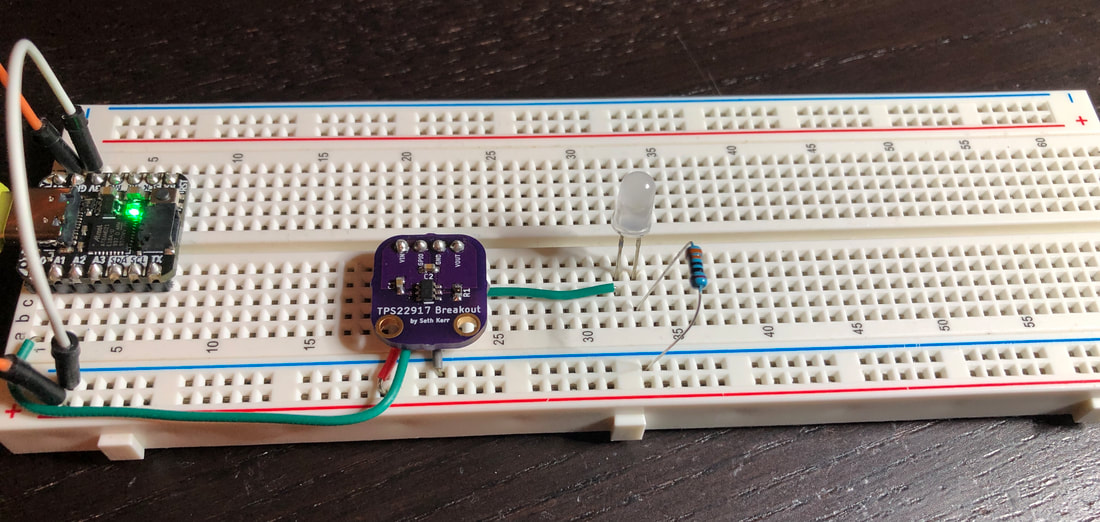
As the code continues to run, we can see visually on our breadboard that the LED is being turn on and off thanks to our CircuitPython code.
Thanks for making it through this tutorial! CircuitPython is a great tool for those learning to build electronics projects and we are happy to be part of the movement to bring CircuitPython boards to those who need them the most.
We announced on CircuitPython day (9/9.2020) that we were bringing our very own version of the SAMD21E microcontroller to start our offering of CircuitPython compatible microcontrollers. Our CP Sapling board will launch just before Black Friday (November 27th, 2020) with a special discount code for the launch. Thanks again and comment if you did this tutorial, any questions you have, or suggestions for future tutorials! -Seth
0 Comments
Leave a Reply. |
AuthorsSeth is embedded software engineer and open source hardware developer. Archives
March 2024
Categories |
 RSS Feed

|
|
Oak Development Technologies (ODT) believes that small teams can make a big difference, like providing you with easy to use designs for your electronics projects. ODT can also support your business with its line of products and kits. We have the right people and tools to bring your idea to life..
Oak tree seeds start small, and so does Oak Development Technologies. Copyright 2018-2023 Oak Development Technologies, An Oak Technology Holdings LLC Company. hello@oakdev.tech | Saratoga Springs, UT 84045 |